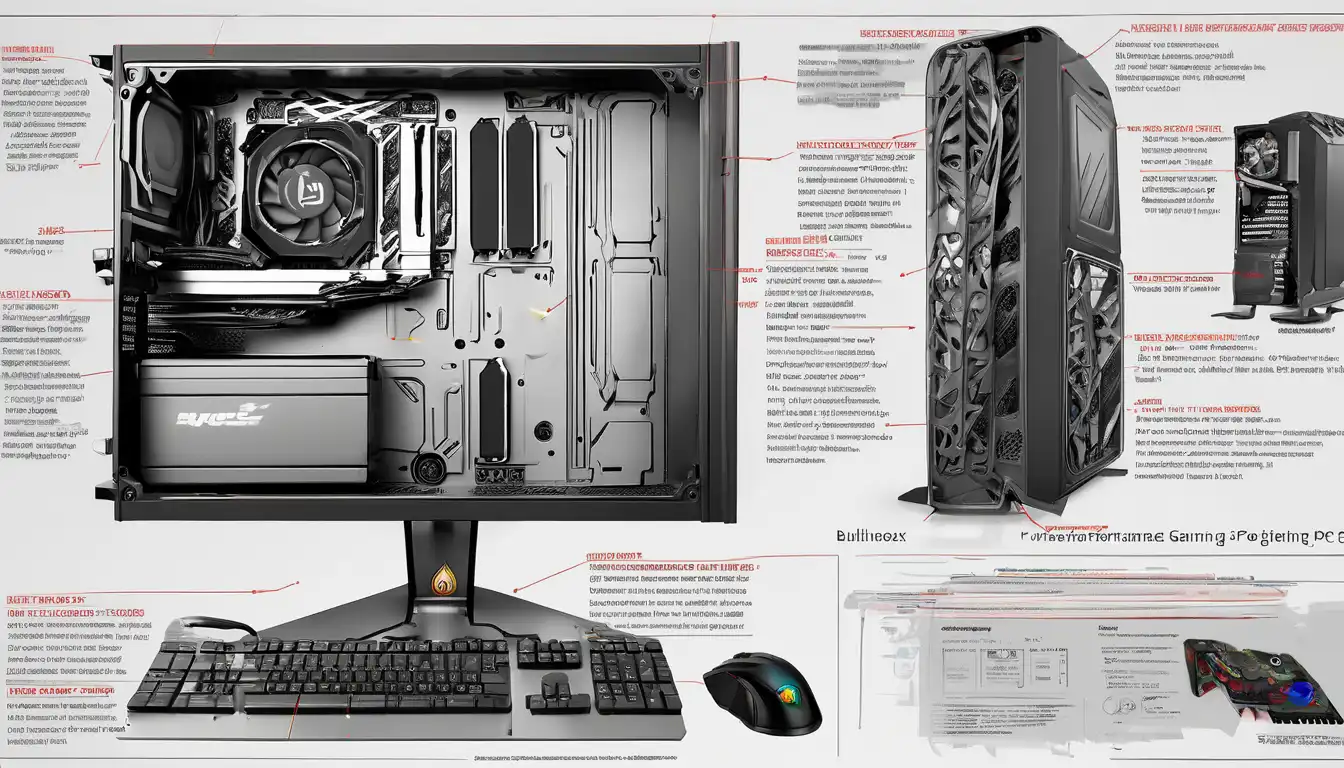
Introduction to High-Performance Gaming PC Construction
Building a high-performance gaming PC represents one of the most rewarding experiences for any gaming enthusiast. Unlike pre-built systems, custom-built gaming computers offer unparalleled flexibility, superior performance optimization, and better value for your investment. This comprehensive guide will walk you through every critical aspect of constructing a gaming rig that delivers exceptional frame rates, stunning visuals, and future-proof capabilities.
The process of building a gaming PC might seem daunting initially, but with proper guidance and careful component selection, anyone can assemble a powerful machine capable of handling the latest AAA titles at maximum settings. Whether you're targeting 1080p gaming or aiming for 4K resolution with ray tracing enabled, understanding the synergy between components is crucial for achieving optimal performance.
Essential Components for Your Gaming Build
Central Processing Unit (CPU)
The CPU serves as the brain of your gaming PC, handling game logic, physics calculations, and AI processing. For gaming purposes, both AMD Ryzen and Intel Core processors offer excellent options. When selecting a CPU, consider factors such as core count, clock speeds, and compatibility with your chosen motherboard. Modern games benefit from processors with higher single-core performance, making CPUs like the AMD Ryzen 7 series or Intel Core i7 excellent choices for high-performance builds.
Graphics Processing Unit (GPU)
Arguably the most critical component for gaming performance, the GPU determines your system's graphical capabilities. NVIDIA's RTX series and AMD's Radeon RX cards dominate the market, offering features like real-time ray tracing and AI-powered upscaling technologies. When choosing a graphics card, consider your target resolution and refresh rate, as higher resolutions require more VRAM and processing power. For 1440p gaming, cards like the RTX 4070 or RX 7800 XT provide excellent performance, while 4K gaming demands flagship models like the RTX 4090.
Motherboard Selection
The motherboard acts as the foundation of your build, connecting all components and determining expansion capabilities. Key considerations include chipset compatibility with your CPU, available PCIe slots for graphics cards and storage, RAM capacity, and connectivity options. For gaming builds, mid-range to high-end motherboards with robust VRM designs ensure stable power delivery to your components, especially important when overclocking your CPU or GPU.
Memory (RAM)
System memory plays a vital role in gaming performance, particularly in open-world games and titles with extensive asset streaming. For modern gaming systems, 16GB represents the minimum recommendation, while 32GB provides optimal performance for demanding titles and multitasking. DDR5 memory has become the standard for new builds, offering higher speeds and better efficiency compared to previous generations. When selecting RAM, prioritize kits with low latency timings and ensure compatibility with your motherboard's specifications.
Storage Solutions
Fast storage significantly impacts game loading times and system responsiveness. NVMe SSDs have become the preferred choice for gaming builds, offering read and write speeds that dramatically reduce loading screens. Consider a tiered storage approach: a high-speed NVMe SSD for your operating system and frequently played games, complemented by a larger SATA SSD or HDD for mass storage of less demanding titles and media files.
Power Supply Unit (PSU)
Often overlooked but critically important, the PSU provides stable power to all components. Select a power supply with sufficient wattage to accommodate your components with headroom for future upgrades. Look for units with 80 Plus Gold certification or higher, ensuring efficiency and reliability. Modular PSUs simplify cable management, contributing to better airflow and cleaner builds.
Cooling Solutions
Effective cooling maintains component longevity and performance stability. Air cooling solutions offer excellent value and reliability, while all-in-one liquid coolers provide superior thermal performance for overclocked systems. Proper case airflow, achieved through strategic fan placement, ensures components operate within optimal temperature ranges during extended gaming sessions.
Step-by-Step Assembly Process
Preparation and Workspace Setup
Begin by organizing your components and preparing a static-free workspace. Gather necessary tools including Phillips head screwdrivers, cable ties, and thermal paste. Read through all component manuals before starting assembly to familiarize yourself with specific installation requirements.
Motherboard Preparation
Install the CPU, RAM, and M.2 SSD onto the motherboard before mounting it in the case. Handle the CPU with care, aligning the golden triangle marker with the corresponding indicator on the socket. Apply thermal paste in a pea-sized dot at the center of the CPU before attaching the cooler.
Case Preparation and Component Installation
Remove side panels and install the power supply in its designated bay. Mount the motherboard using standoff screws, ensuring proper alignment with I/O shield. Install storage drives in their respective bays and route necessary cables before proceeding with graphics card installation.
Cable Management and Final Connections
Proper cable management improves airflow and maintains system aesthetics. Route cables through designated channels and use zip ties to secure loose wires. Connect front panel headers, USB ports, and audio jacks according to motherboard documentation. Double-check all power connections before proceeding to system testing.
System Optimization and Performance Tuning
BIOS Configuration
Access the BIOS/UEFI interface to enable XMP/DOCP profiles for RAM optimization. Update to the latest BIOS version for improved stability and compatibility. Configure fan curves to balance cooling performance with acoustic levels according to your preferences.
Operating System and Driver Installation
Install your preferred operating system, ensuring you select the correct boot drive during installation. Download latest drivers from component manufacturers' websites, prioritizing chipset, graphics, and audio drivers. Windows Update typically handles most essential drivers, but manufacturer-specific software often includes additional optimization features.
Performance Monitoring and Benchmarking
Utilize software like MSI Afterburner, HWMonitor, or CPU-Z to monitor system performance and temperatures. Run benchmarking tools such as 3DMark or Unigine Heaven to validate system stability and performance metrics. Compare results with similar builds to ensure your system performs as expected.
Advanced Optimization Techniques
Overclocking Considerations
For enthusiasts seeking maximum performance, overclocking can provide noticeable improvements in gaming performance. Begin with GPU overclocking using manufacturer utilities, gradually increasing clock speeds while monitoring stability. CPU overclocking requires more careful consideration of voltage and thermal limits. Always stress test overclocked systems to ensure long-term stability.
RGB and Aesthetic Customization
Modern gaming builds often incorporate RGB lighting for personalized aesthetics. Use manufacturer software like iCUE, Aura Sync, or Mystic Light to synchronize lighting effects across compatible components. Consider cable extensions and custom cooling solutions for enhanced visual appeal.
Maintenance and Future Upgrades
Regular maintenance ensures long-term performance and component longevity. Dust accumulation represents the most common issue affecting gaming PCs. Schedule quarterly cleaning sessions using compressed air to remove dust from fans, heatsinks, and filters. Monitor component temperatures during gaming sessions to identify potential cooling issues early.
When considering future upgrades, prioritize components based on performance bottlenecks. Graphics cards typically require replacement every 2-3 generations to maintain cutting-edge performance, while CPUs and motherboards may last longer depending on socket compatibility. Storage upgrades offer immediate improvements in loading times and system responsiveness.
Conclusion: Your Path to Gaming Excellence
Building a high-performance gaming PC represents a journey that combines technical knowledge with personal customization. The satisfaction of playing games on a system you assembled yourself is unmatched, and the knowledge gained during the process empowers you to maintain and upgrade your system as technology evolves.
Remember that the gaming PC market constantly evolves, with new components and technologies emerging regularly. Stay informed about industry developments through reputable tech publications and community forums. Whether you're building your first gaming rig or upgrading an existing system, the principles outlined in this guide will help you create a powerful, reliable gaming computer tailored to your specific needs and preferences.
For more detailed information on specific components or advanced building techniques, explore our comprehensive PC building resources section. If you're considering specific games for your new system, check out our gaming performance guides for optimization tips tailored to popular titles.